動機:要如何在 nRF52832 - PCA10040 - S132 DK開發板上安裝 MicroPython(1.8.1) 及 測試 blinky 範例呢?!
準備環境:
1.MacBook筆電
2.nRF52832 - S132 DK開發板(需連接USB數據線)
實作步驟:
一、下載安裝,指令如下
$ git clone https://github.com/adafruit/Adafruit_nRF52_Arduino.git
$ cd Adafruit_nRF52_Arduino/tools/nrfutil-0.5.2/
$ pip install -r requirements.txt
$ sudo python setup.py install
$ cd ../../..
$ git clone https://github.com/tralamazza/micropython.git nrf5_no_sdk
$ cd nrf5_no_sdk/
$ git submodule update --init
$ make -C mpy-cross
$ cd ports/nrf
$ make
$ make flash
如下圖

2.進入 REPL
$ sudo cu -s 115200 -l /dev/tty.usbmodem1411
按下 return 進入 >>>,如下圖

按下 control+E 進入 paste mode,如下圖

按下 command+V 貼上 blinky(點亮LED1~LED4) 示範程式,如下圖

程式碼,如下
按下 control+D 即可執行 blinky,示範影片如下
如欲中斷執行,請按下 nRF52832 開發板 左下方的 IF BOOT/RESET 按鈕...
如欲離開 cu,請輸入
>>> ~.
如下圖

3.Compile and Flash with Bluetooth Stack(at /Users/davis/opt/micropython/ports/nrf )
$ ./drivers/bluetooth/download_ble_stack.sh
如下圖

修改 WebBluetooth mode 設定
$ nano bluetooth_conf.h
修改內容,如下
#elif (BLUETOOTH_SD == 132)
#define MICROPY_PY_BLE (1)
#define MICROPY_PY_BLE_NUS (1)
#define BLUETOOTH_WEBBLUETOOTH_REPL (1)
#define MICROPY_PY_UBLUEPY (1)
#define MICROPY_PY_UBLUEPY_PERIPHERAL (1)
#define MICROPY_PY_UBLUEPY_CENTRAL (1)
$ make BOARD=pca10040 SD=s132 sd
如下圖

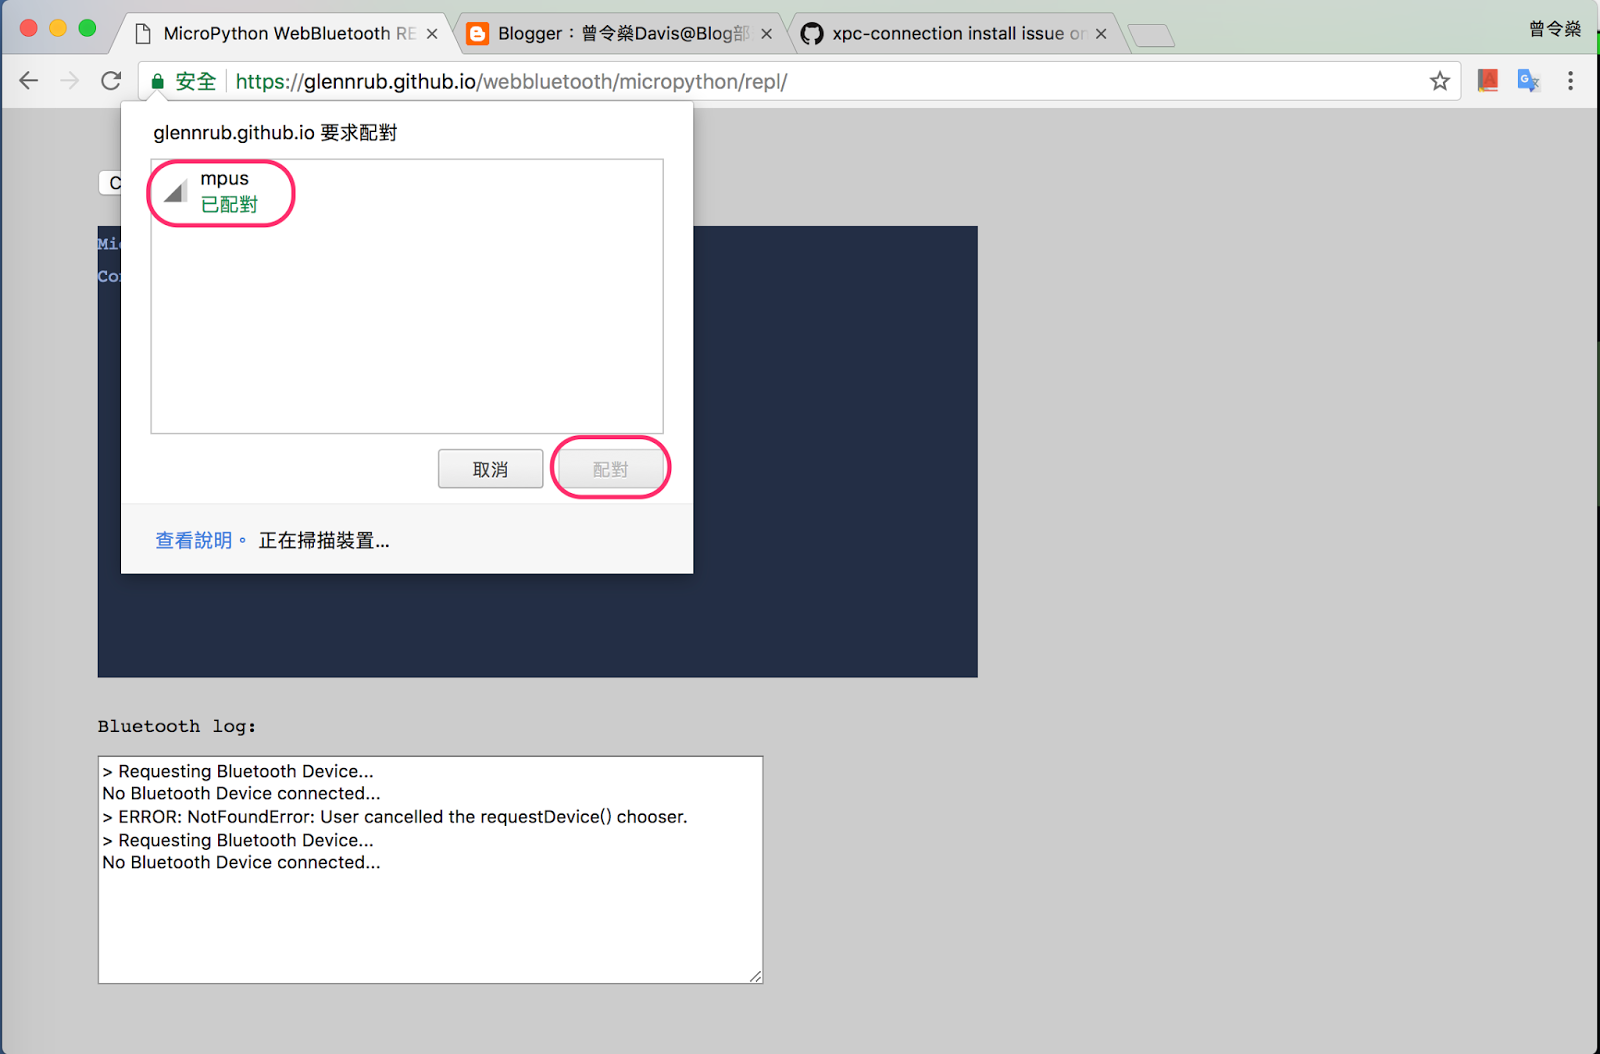
再到網站 https://glennrub.github.io/webbluetooth/micropython/repl/
按下上方的 CONNECT
如下圖

配對 完成後進入 WebBluetooth REPL 如下圖
 可於REPL中輸入LED指令測試,如下
>>> led=pyb.LED(4)
>>> led.on()
>>> led.off()
此時,若是使用 Android手機 會收到 Nearby 通知,點選後,即可使用 Chrome 連入...如下圖

參攷:
1.tralamazza/micropython, https://github.com/tralamazza/micropython/tree/master/ports/nrf
2.tralamazza/nus_console, https://github.com/tralamazza/nus_console
3.Porting to Nordic Semiconductor nRF52, https://forum.micropython.org/viewtopic.php?f=12&t=859&start=30
4.Turning on LEDs and basic Python concepts, http://docs.micropython.org/en/v1.9.2/pyboard/pyboard/tutorial/leds.html
準備環境:
1.MacBook筆電
2.nRF52832 - S132 DK開發板(需連接USB數據線)
實作步驟:
一、下載安裝,指令如下
$ git clone https://github.com/adafruit/Adafruit_nRF52_Arduino.git
$ cd Adafruit_nRF52_Arduino/tools/nrfutil-0.5.2/
$ pip install -r requirements.txt
$ sudo python setup.py install
$ cd ../../..
$ git clone https://github.com/tralamazza/micropython.git nrf5_no_sdk
$ cd nrf5_no_sdk/
$ git submodule update --init
$ make -C mpy-cross
$ cd ports/nrf
$ make
$ make flash
如下圖

2.進入 REPL
$ sudo cu -s 115200 -l /dev/tty.usbmodem1411
按下 return 進入 >>>,如下圖
按下 control+E 進入 paste mode,如下圖

按下 command+V 貼上 blinky(點亮LED1~LED4) 示範程式,如下圖

程式碼,如下
按下 control+D 即可執行 blinky,示範影片如下
如欲中斷執行,請按下 nRF52832 開發板 左下方的 IF BOOT/RESET 按鈕...
如欲離開 cu,請輸入
>>> ~.
如下圖

3.Compile and Flash with Bluetooth Stack(at /Users/davis/opt/micropython/ports/nrf )
$ ./drivers/bluetooth/download_ble_stack.sh
如下圖

修改 WebBluetooth mode 設定
$ nano bluetooth_conf.h
修改內容,如下
#elif (BLUETOOTH_SD == 132)
#define MICROPY_PY_BLE (1)
#define MICROPY_PY_BLE_NUS (1)
#define BLUETOOTH_WEBBLUETOOTH_REPL (1)
#define MICROPY_PY_UBLUEPY (1)
#define MICROPY_PY_UBLUEPY_PERIPHERAL (1)
#define MICROPY_PY_UBLUEPY_CENTRAL (1)
如下圖

再到網站 https://glennrub.github.io/webbluetooth/micropython/repl/
按下上方的 CONNECT
如下圖
配對 完成後進入 WebBluetooth REPL 如下圖

>>> led=pyb.LED(4)
>>> led.on()
>>> led.off()
如欲離開 REPL模式,請按下上方的 DISCONNECT...
此時,若是使用 Android手機 會收到 Nearby 通知,點選後,即可使用 Chrome 連入...如下圖

參攷:
1.tralamazza/micropython, https://github.com/tralamazza/micropython/tree/master/ports/nrf
2.tralamazza/nus_console, https://github.com/tralamazza/nus_console
3.Porting to Nordic Semiconductor nRF52, https://forum.micropython.org/viewtopic.php?f=12&t=859&start=30
4.Turning on LEDs and basic Python concepts, http://docs.micropython.org/en/v1.9.2/pyboard/pyboard/tutorial/leds.html
留言